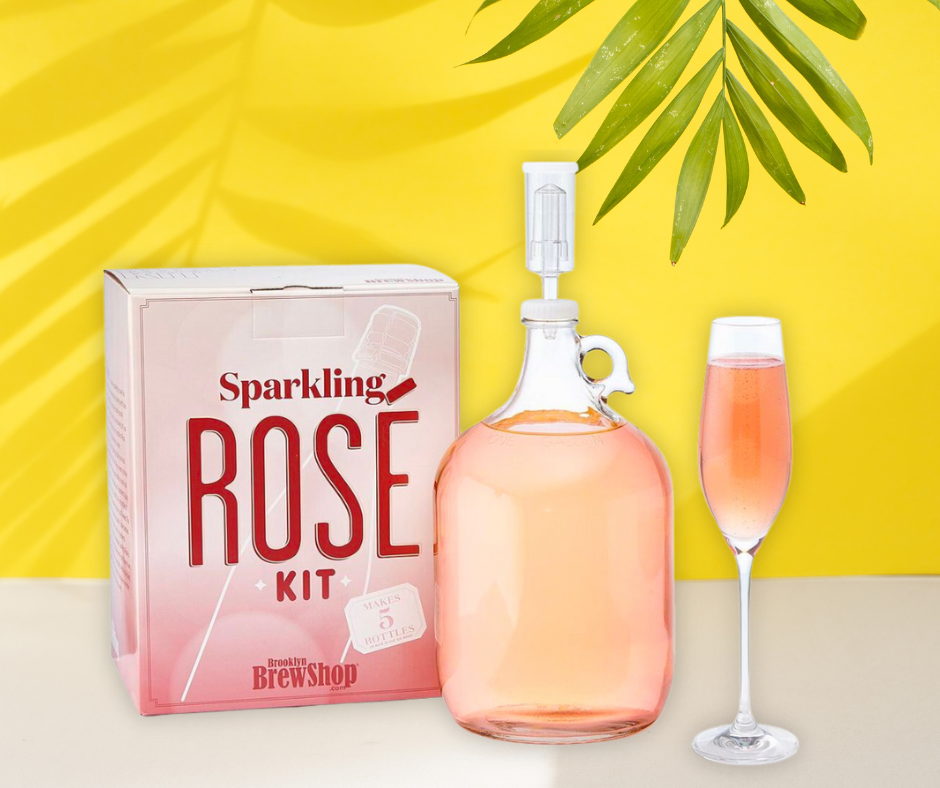
Since all I seem to write about is all the different summer rosés I’ve tried, I thought it made sense to bubble up some info on the fun little sparkling rosé kit from the folks at Brooklyn Brew Shop. Making 5 bottles of your very own DIY rosé from the comfort of your own home is, not only, possible and pretty easy, but affordable too.
Brooklyn Brew Shop Sparkling Rosé Review & Overview
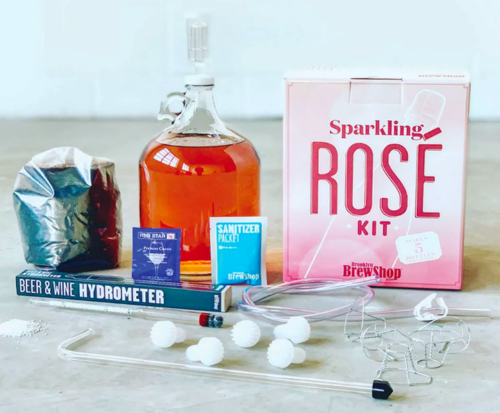
The Sparkling Rosé Kit from Brooklyn Brew Shop is the official DIY kit that allows you to make your own sparkling rosé wine at home. The kit includes all the necessary equipment and ingredients to make five 750ml bottles of sparkling rosé. So feel free to make a few for yourself and maybe even gift the rest to those cheap rosé lovers in your friend group.
The kit includes a one-gallon fermentation jug, a screw cap stopper, an airlock, a tubing clamp, a thermometer, and a racking cane. Additionally, the kit includes yeast, sugar, and rose grape juice concentrate. The rosé grape juice concentrate is made from a blend of Chilean Cabernet Sauvignon and Merlot grapes, which gives the wine a fruity and floral aroma.
SPECS & STATS
- Number of Bottles It Can Make 5
- ABV 11%
- Price $70
- Corks Included 5
- Wire Cages Included 5
- Wine Bottles Included
Don’t worry if you’re a beginner when it comes to making rosé, they make it pretty easy. The kit comes with easy-to-follow instructions that guide you through the entire winemaking process, from fermentation to bottling. Please note, the fermentation process takes about 10 days, and after that, the wine is bottled and allowed to carbonate for another two weeks. So, sadly, you’re not drinking it the second you make it – but you may have already guessed that.
One of the unique features of the Sparkling Rosé Kit is that it uses a natural carbonation process, which means that the wine is carbonated in the bottle using the yeast from the fermentation process. This method results in a more subtle and delicate carbonation compared to artificially carbonated wines.
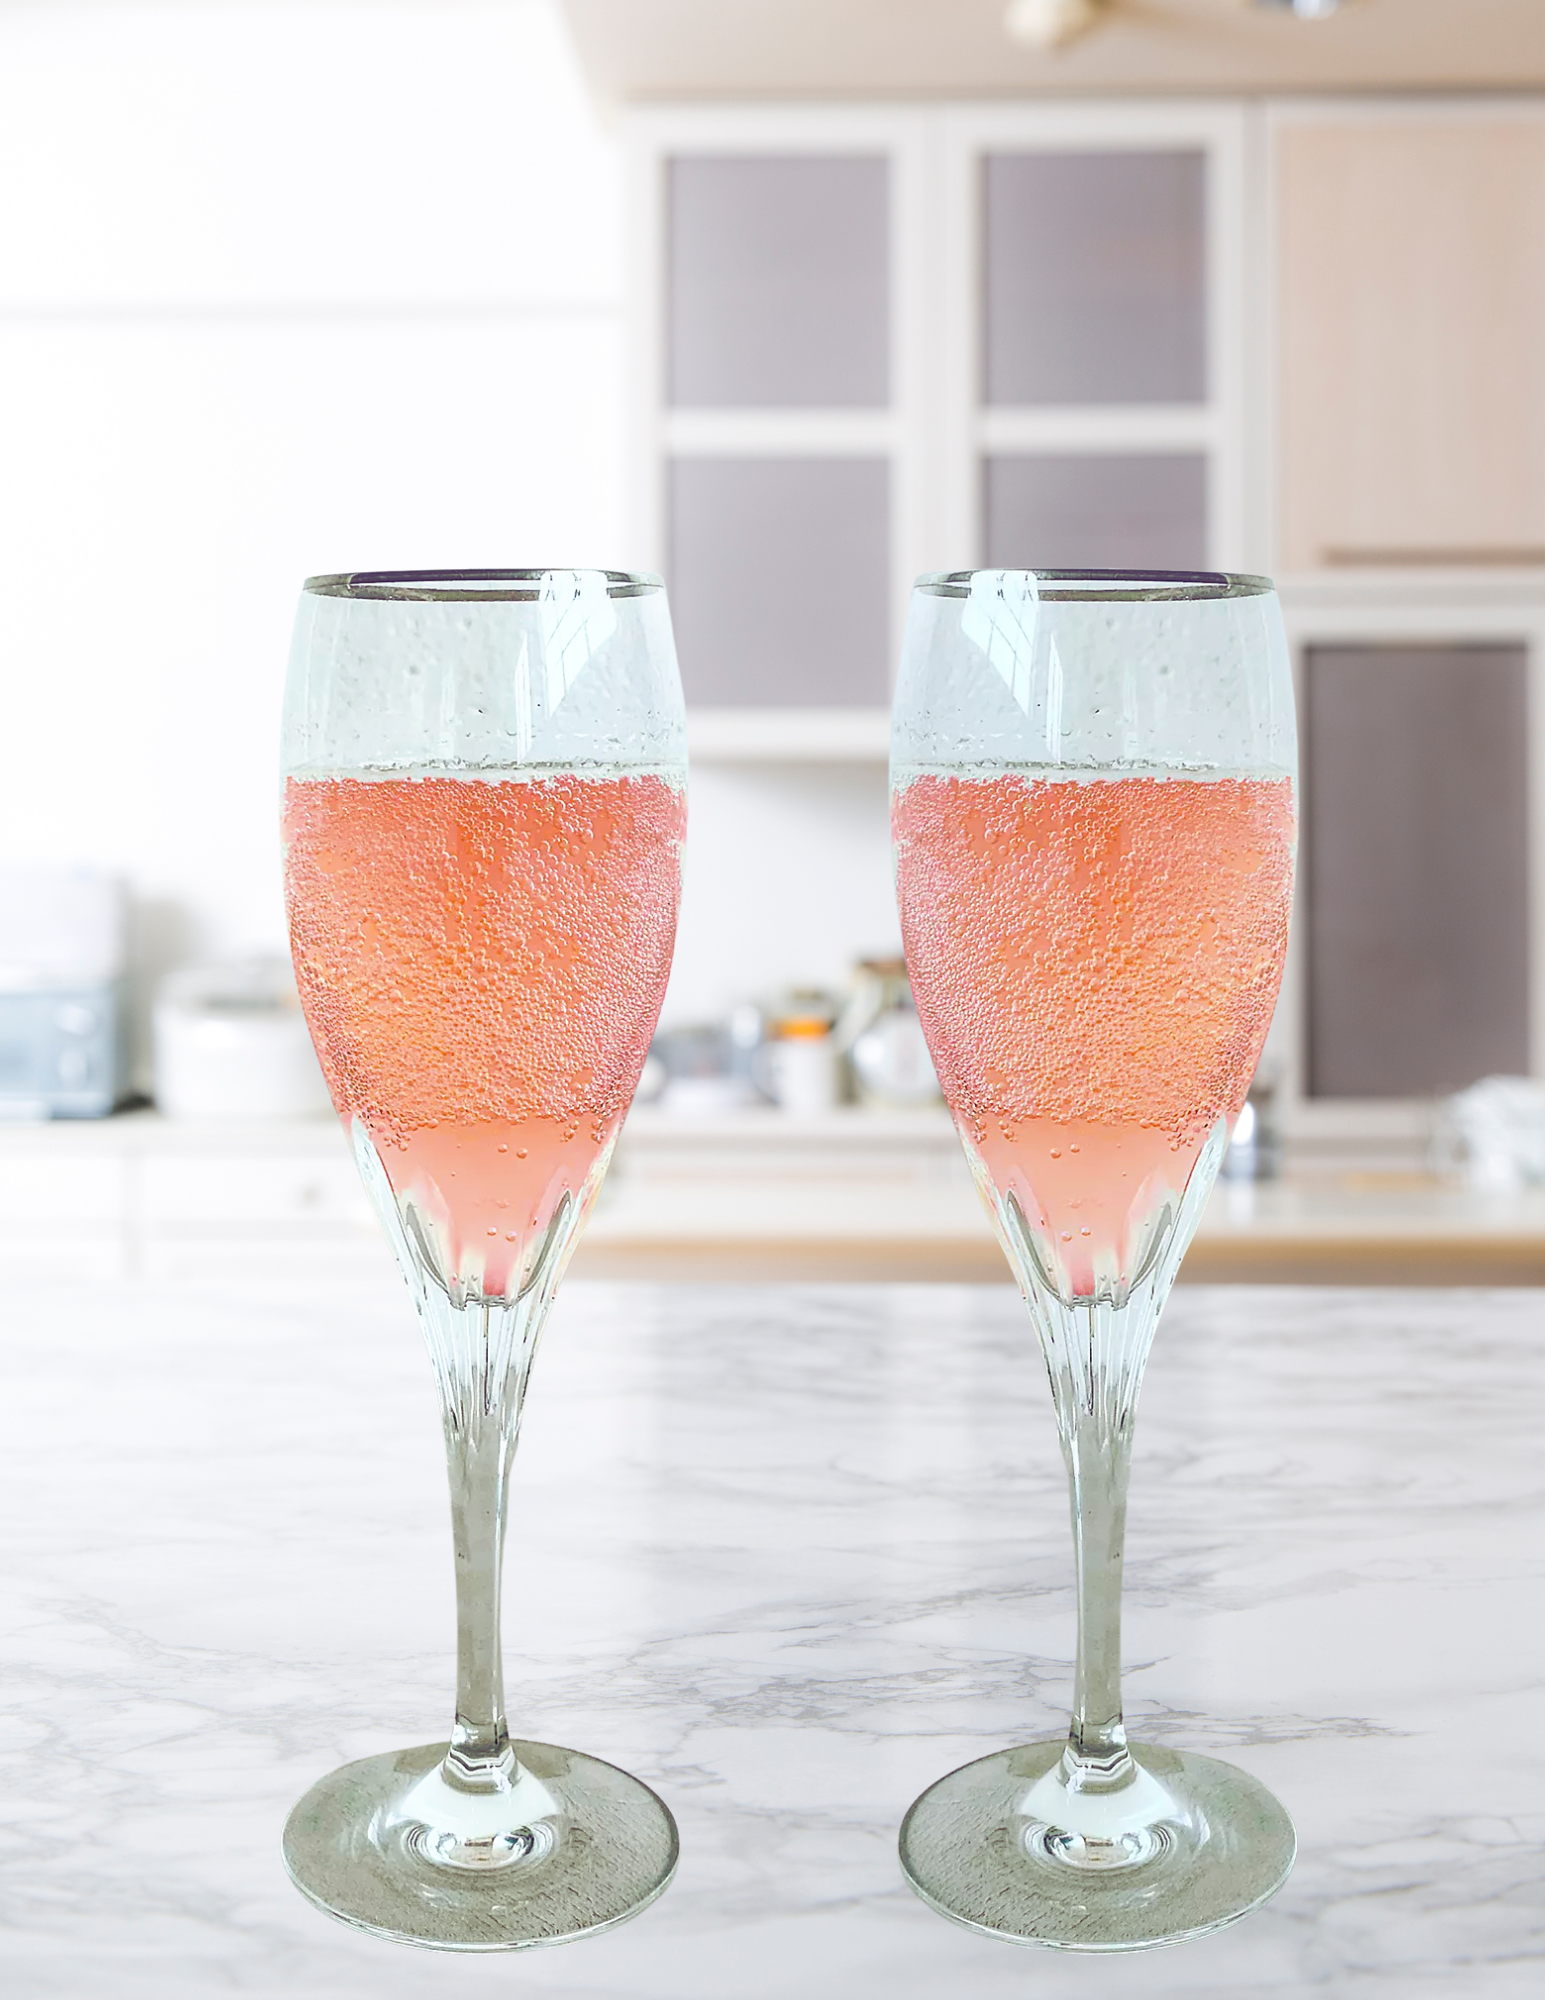
The finished sparkling rosé wine has a light pink color and a bright, fruity flavor with notes of strawberry and raspberry. It has a moderate alcohol content of around 11%, making it a great choice for sipping on warm summer evenings or just drinking it on the floor in your kitchen. Just me?
Take a look at what you can expect your own rosé to look like:
Here's How to Use It & Make Your Own Rosé
Like I mentioned above, the kit comes with easy-to-follow instructions, but if you’re curious right now before you buy here are the steps you’ll most likely follow like I did.
1. Sanitize the Equipment
Before you begin, make sure to sanitize all of your equipment to ensure that your wine doesn’t become contaminated with bacteria or other unwanted yuck.
2. Heat Water and Dissolve Sugar
Heat 3 cups of water in a pot on the stove and add the sugar from the kit. Stir until the sugar is dissolved, then remove from heat.
3. Add Rosé Grape Juice Concentrate
Pour the grape juice concentrate from the kit into the pot with the sugar water and stir until it is fully mixed.
4. Add More Water
Add cold water to the pot to bring the total volume to one gallon. Make sure the temperature of the mixture is between 70°F and 75°F.
5. Add Yeast
Sprinkle the yeast from the kit onto the surface of the grape juice mixture. Stir gently to combine.
6. Transfer Mixture to Fermentation Jug
Use a funnel to transfer the grape juice mixture to the fermentation jug that came with the kit.
7. Insert Airlock
Attach the screw cap stopper to the fermentation jug and insert the airlock into the stopper. Fill the airlock with water to create a seal.
8. Ferment for 10 Days
Place the fermentation jug in a cool, dark place with a consistent temperature between 70°F and 75°F. Let the mixture ferment for 10 days, until bubbles stop appearing in the airlock.
9. Bottle Wine
Use the racking cane that came with the kit to siphon the wine from the fermentation jug into some wine bottles if that’s how you want to serve it. Leave about an inch of headspace in each bottle.
10. Add Priming Sugar
Add the priming sugar from the kit to each bottle. This will create the carbonation in the wine.
11. Let Wine Bottle Condition
Screw the caps onto the bottles and place them in a cool, dark place for two weeks to condition and carbonate.
12. Chill and Enjoy
After two weeks, chill the bottles in the refrigerator and enjoy your homemade sparkling rosé wine!
Note: It’s important to be patient during the winemaking process and to follow the instructions carefully. Temperature, cleanliness, and timing are all critical to producing a successful batch of wine.
PROS & CONS
WHAT I LOVE:
- Fun DIY activity for wine enthusiasts and beginners alike.
- Everything you need to make the wine is included in the kit (except the wine bottles).
- Natural carbonation method results in a more subtle and delicate carbonation compared to artificially carbonated wines.
- Makes 5 bottles of wine, which can be a great and cost-effective gift idea too.
- Wine has a bright, fruity flavor with notes of strawberry and raspberry.
JUST A HEADS-UP:
- It definitely requires patience and a few weeks to be all ready for consumption, so you can’t drink it right away.
- The wine bottles do not come with it. Although you can buy 5 of them for $25 direct from the Brooklyn Brew Shop if you’re in a pinch.
- It’s really fun and a great learning experience, but it’s not ~ like ~ the best rosé in the world.

